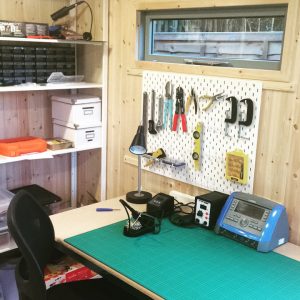
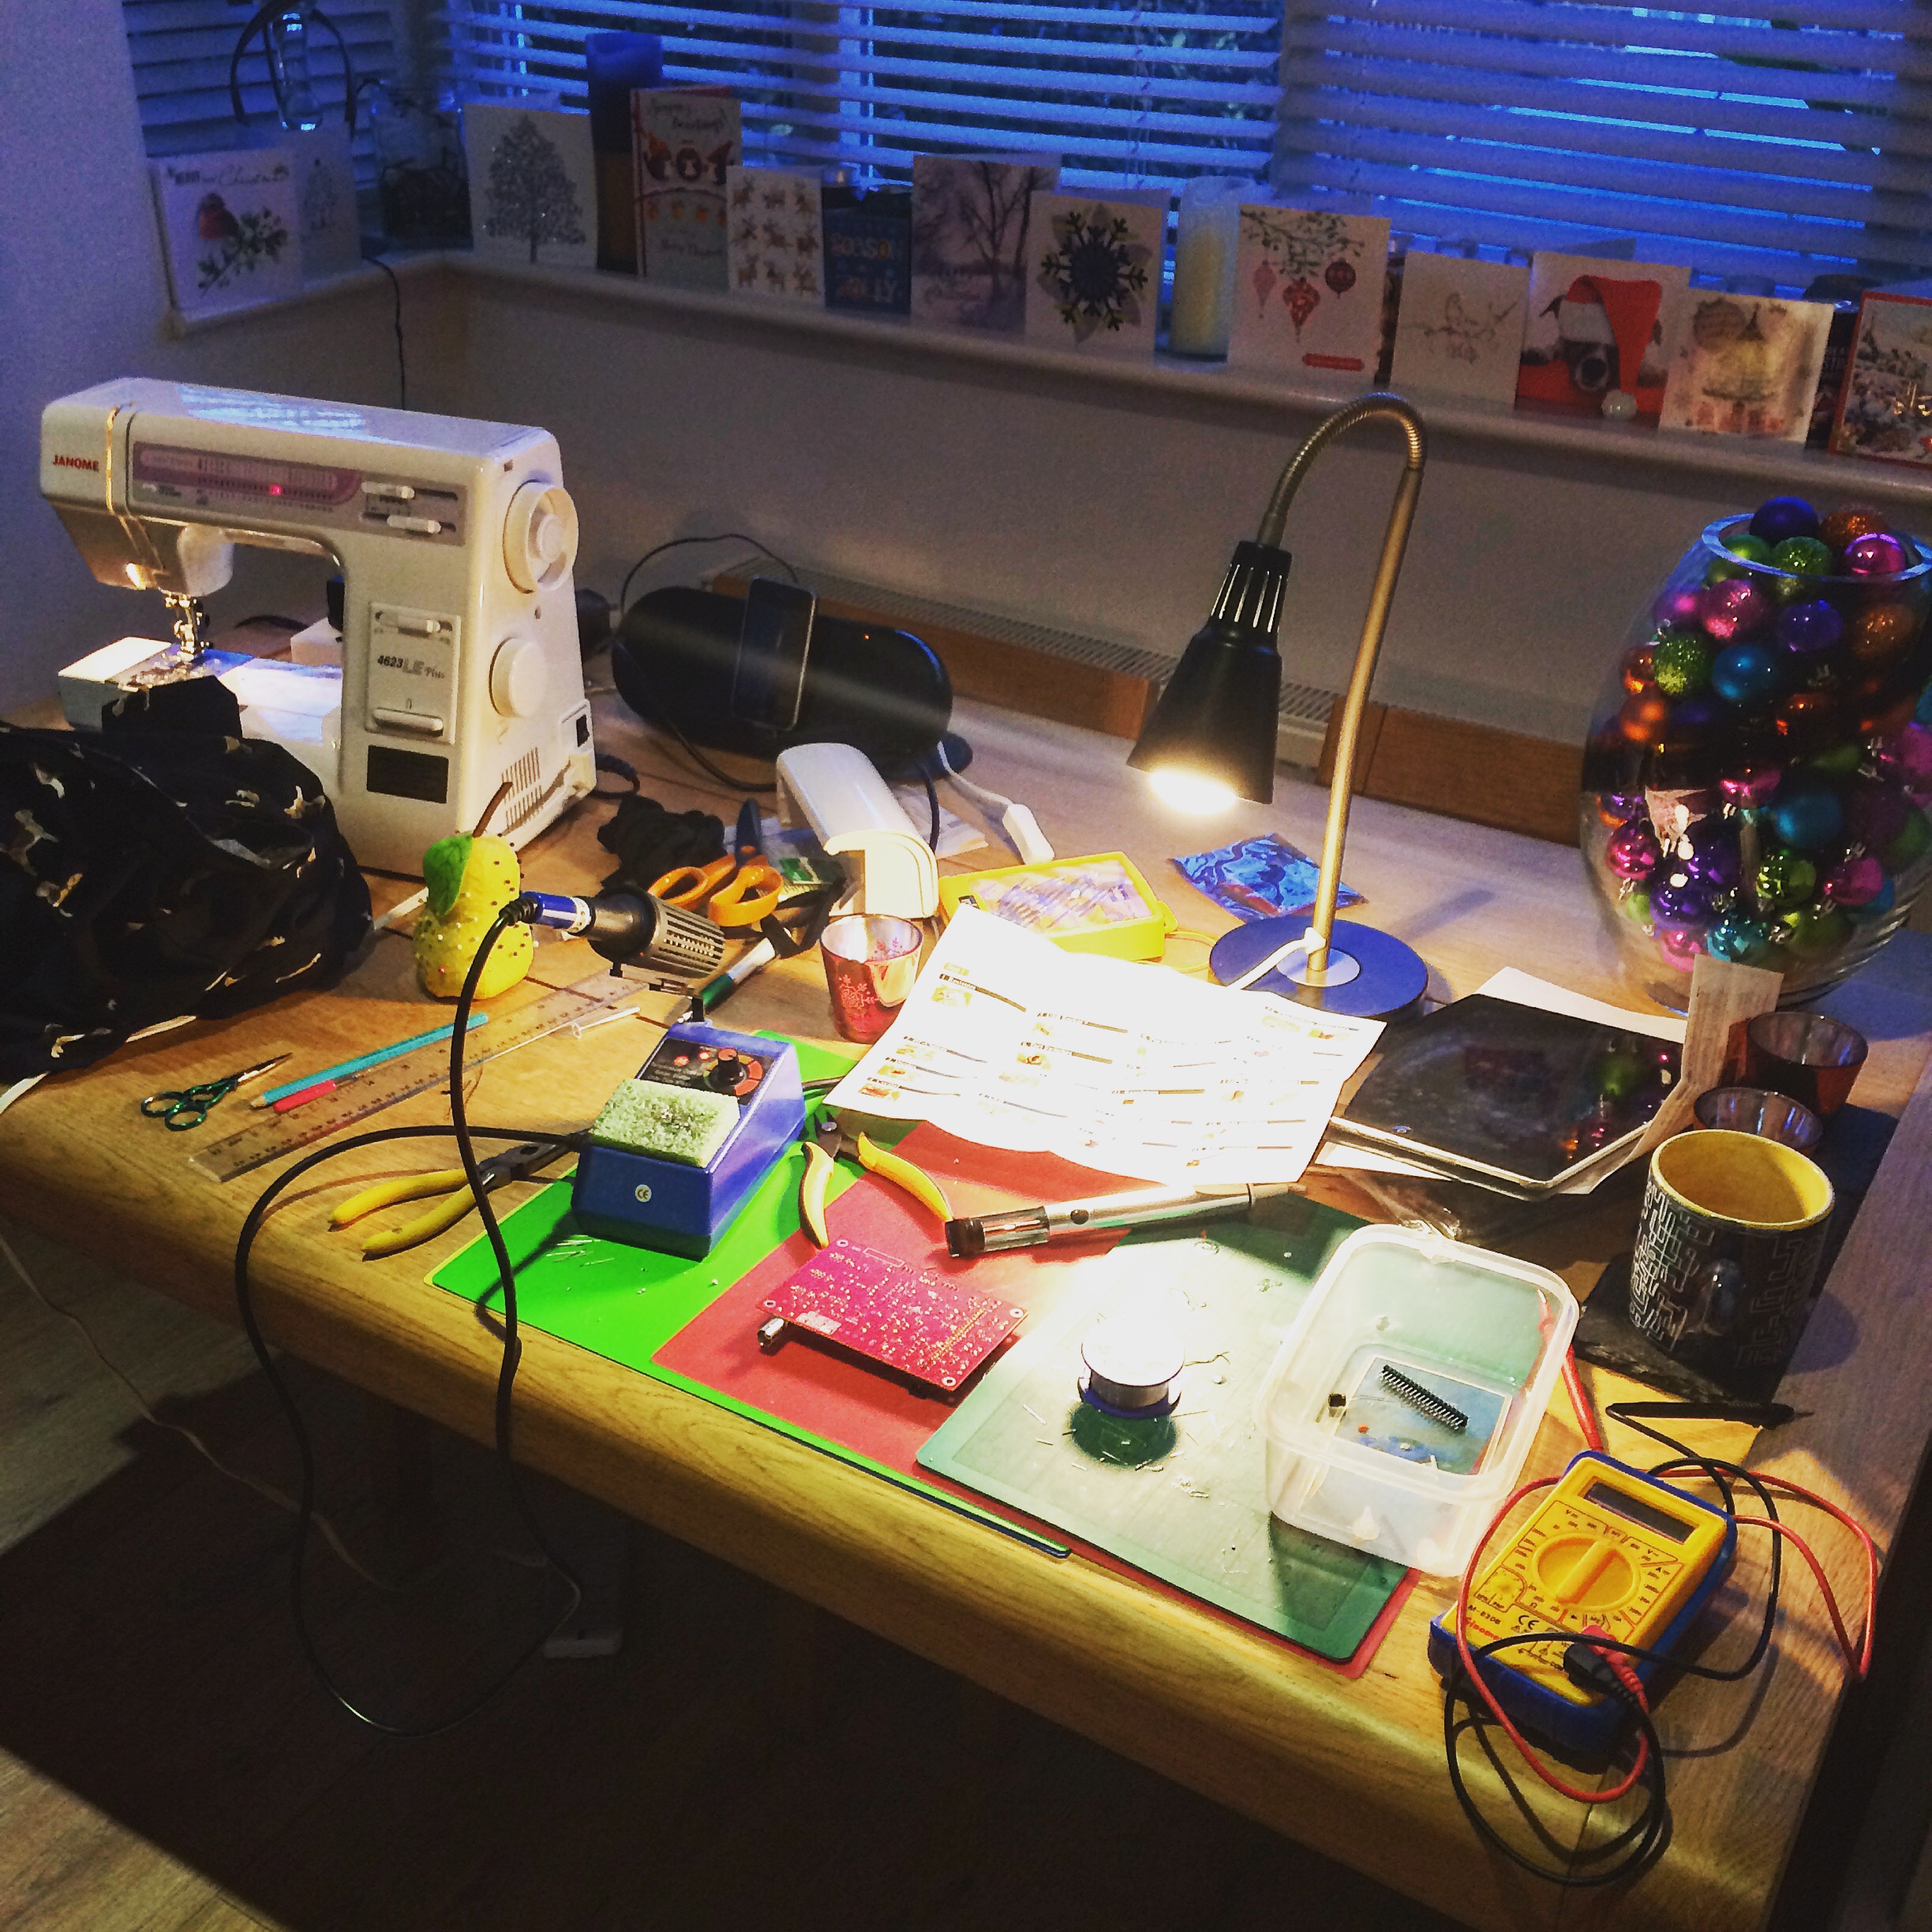
I now have a permanent space to build things that go beep and grrrr-beep, in a shed we’ve built in our garden. The other half is reserved for my wife to do dress making. A veritable temple of hobbies! Expect more machines in the near future. I’ll soon be doing some videos of the things I make – watch this space.
Author: admin
Clutching At Conscious reviewed on Louder Than War
There is a punk like approach to these tracks, deep electronic bass sounds, beats, overdriven guitar textures, melody but with a live feel and raw edge
Clutching At Conscious features on radio play
Cutlasses scores the latest episode from the excellent radio play series ‘Whisper Through The Static’. The episode is called Korol Cheyva, click the link to listen. I highly recommend checking out some of the other episodes too, they’re great!
Album is out!
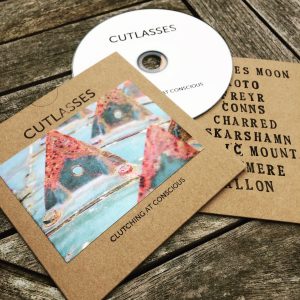
The debut Cutlasses album ‘Clutching at Conscious’ is out! Finally. I feel like it has consumed every ounce of my spare time, and spare thoughts, but I’m very happy with the outcome. You can listen to it, and buy it here or just click on the Music tab. We had the launch party last night, thanks so much to everyone who came, I had a great time, I hope you did too! I’ll probably write a little bit about the construction of some of the tracks, but for now, please listen, and enjoy.
MIDI Mustard
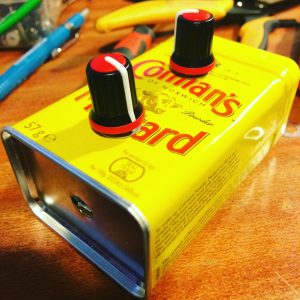
For my gig at Thee Sunday Sonics this weekend I decided to make a new USB controller. I was previously using one with many more buttons and knobs than I actually needed. For this project I used the Teensy LC. A low cost version of the Teensy (around £10). It has less memory and computation power than the 3.2, but more than enough to make a simple USB MIDI controller. I used a mustard tin to house it all in. It’s suspended inside using these. It worked a treat in practise but for some reason on the night of the gig (typically), in soundcheck it stopped working and seemed to be interfering with my other controllers. Luckily I bought my previous controller as a spare. Still not entirely sure what the issue was (it works fine again now). My best guess is that there was some form of power issue. I’m hoping to be able to recreate in an environment that not on-stage so I can actually resolve it.
Once I’d reverted to my spare everything was fine, and the gig went well. Thanks to Thee Sunday Sonics for inviting me, it was lots of fun.
[EDIT] I’m fairly confident I’ve solved the problem. The software wasn’t consuming and discard MIDI messages it received, only sending its own messages. Updated code on GitHub
Thee Sunday Sonics
Excited to be playing Thee Sunday Sonics again this year. Last year was lots of fun. Check out the page for more details https://www.facebook.com/events/1604452076450899/
New track
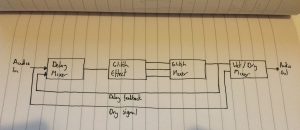
I thought I’d share a demo of this new track, as it’s the first thing I’ve recorded which uses my glitch delay. I started with an hour or so of improvisation through the effects chain below, then pieced it together in Ableton, where I added drums, synths and more guitar, and finally mixed it down in Logic. I like using different software to arrange and mix, as for me, it helps them feel like distinct processes. I’m really enjoying the random nature of the Glitch Delay (need to come up with a better name for that) and using it live has given me some more ideas for new modes.
Christmas Crafting
Merry Christmas everybody! One of my favourite things about the festive period, apart from seeing my friends and family, and all the food and booze, is the extra time I get away from work to concentrate on some projects. I never manage to get as many things done as I hope, but I have managed to find a couple of days in the festive schedule to geek out. So far I’ve managed to do a remix, which will hopefully be released soon, started work on a Teensy based Comb Filter (will post results on that soon), programmed a PIC chip (will be used to read the interface elements on my redesigned glitch delay module), and built a super cheap oscilloscope kit.
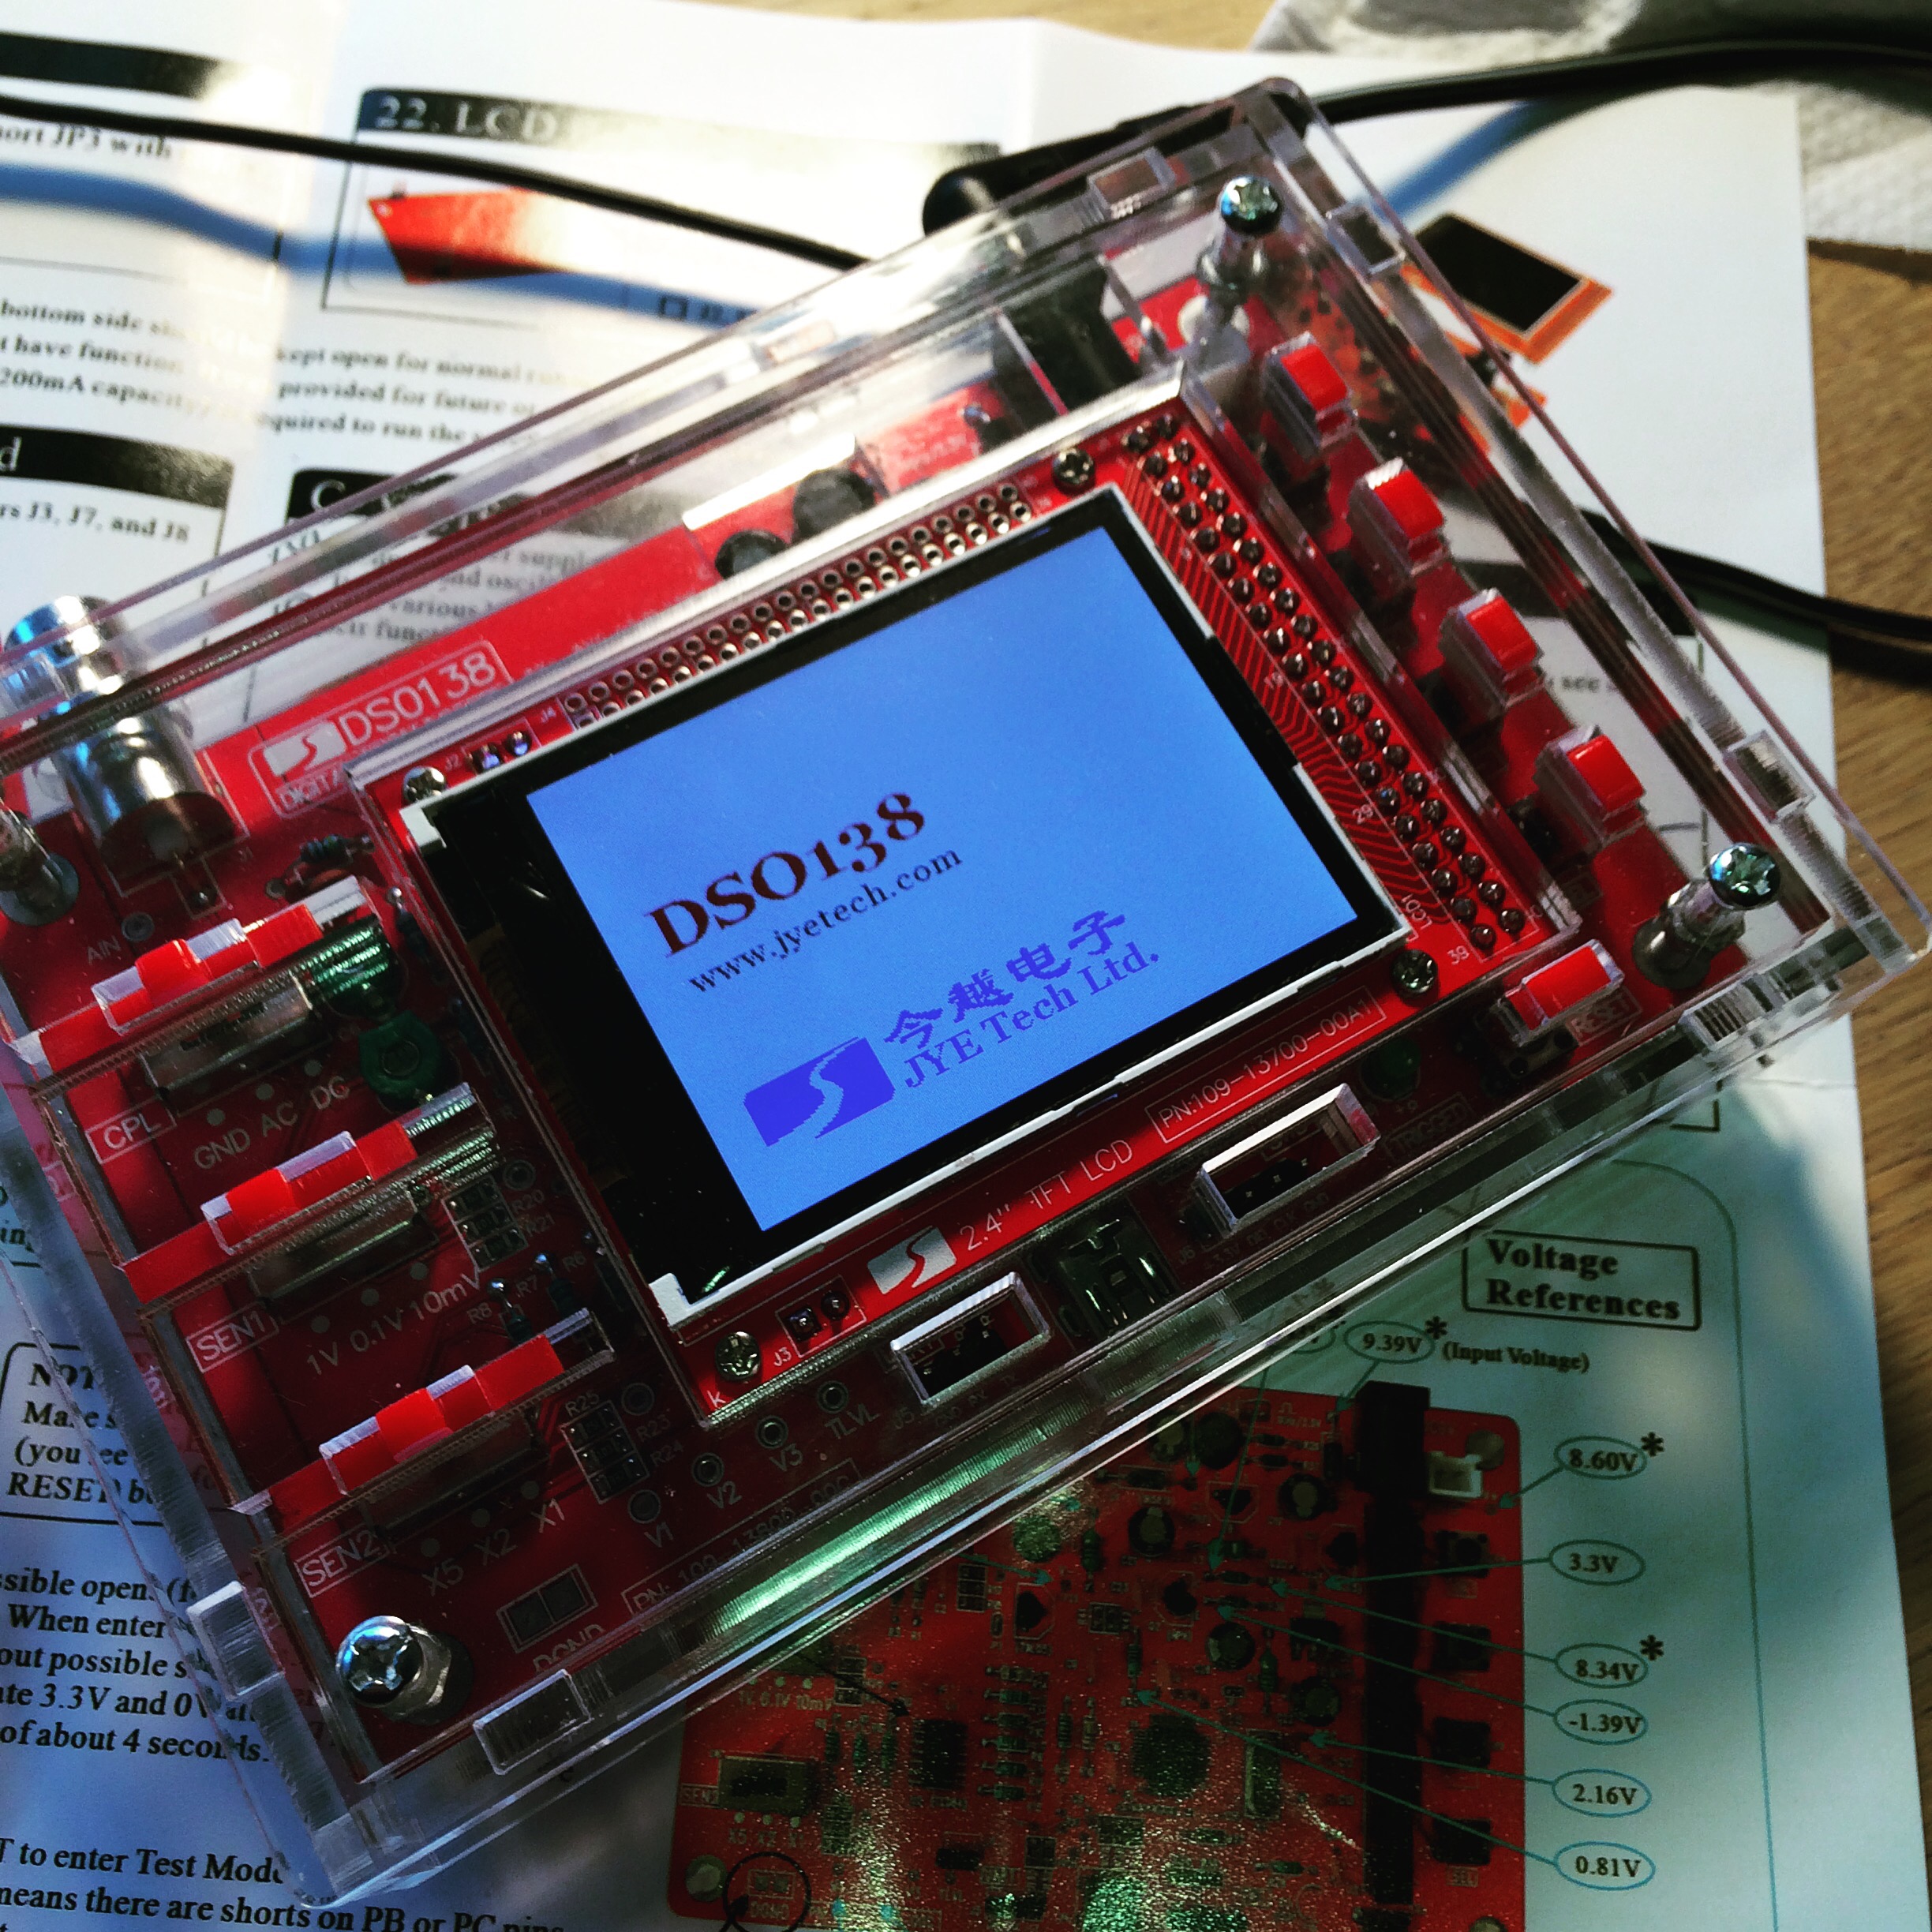
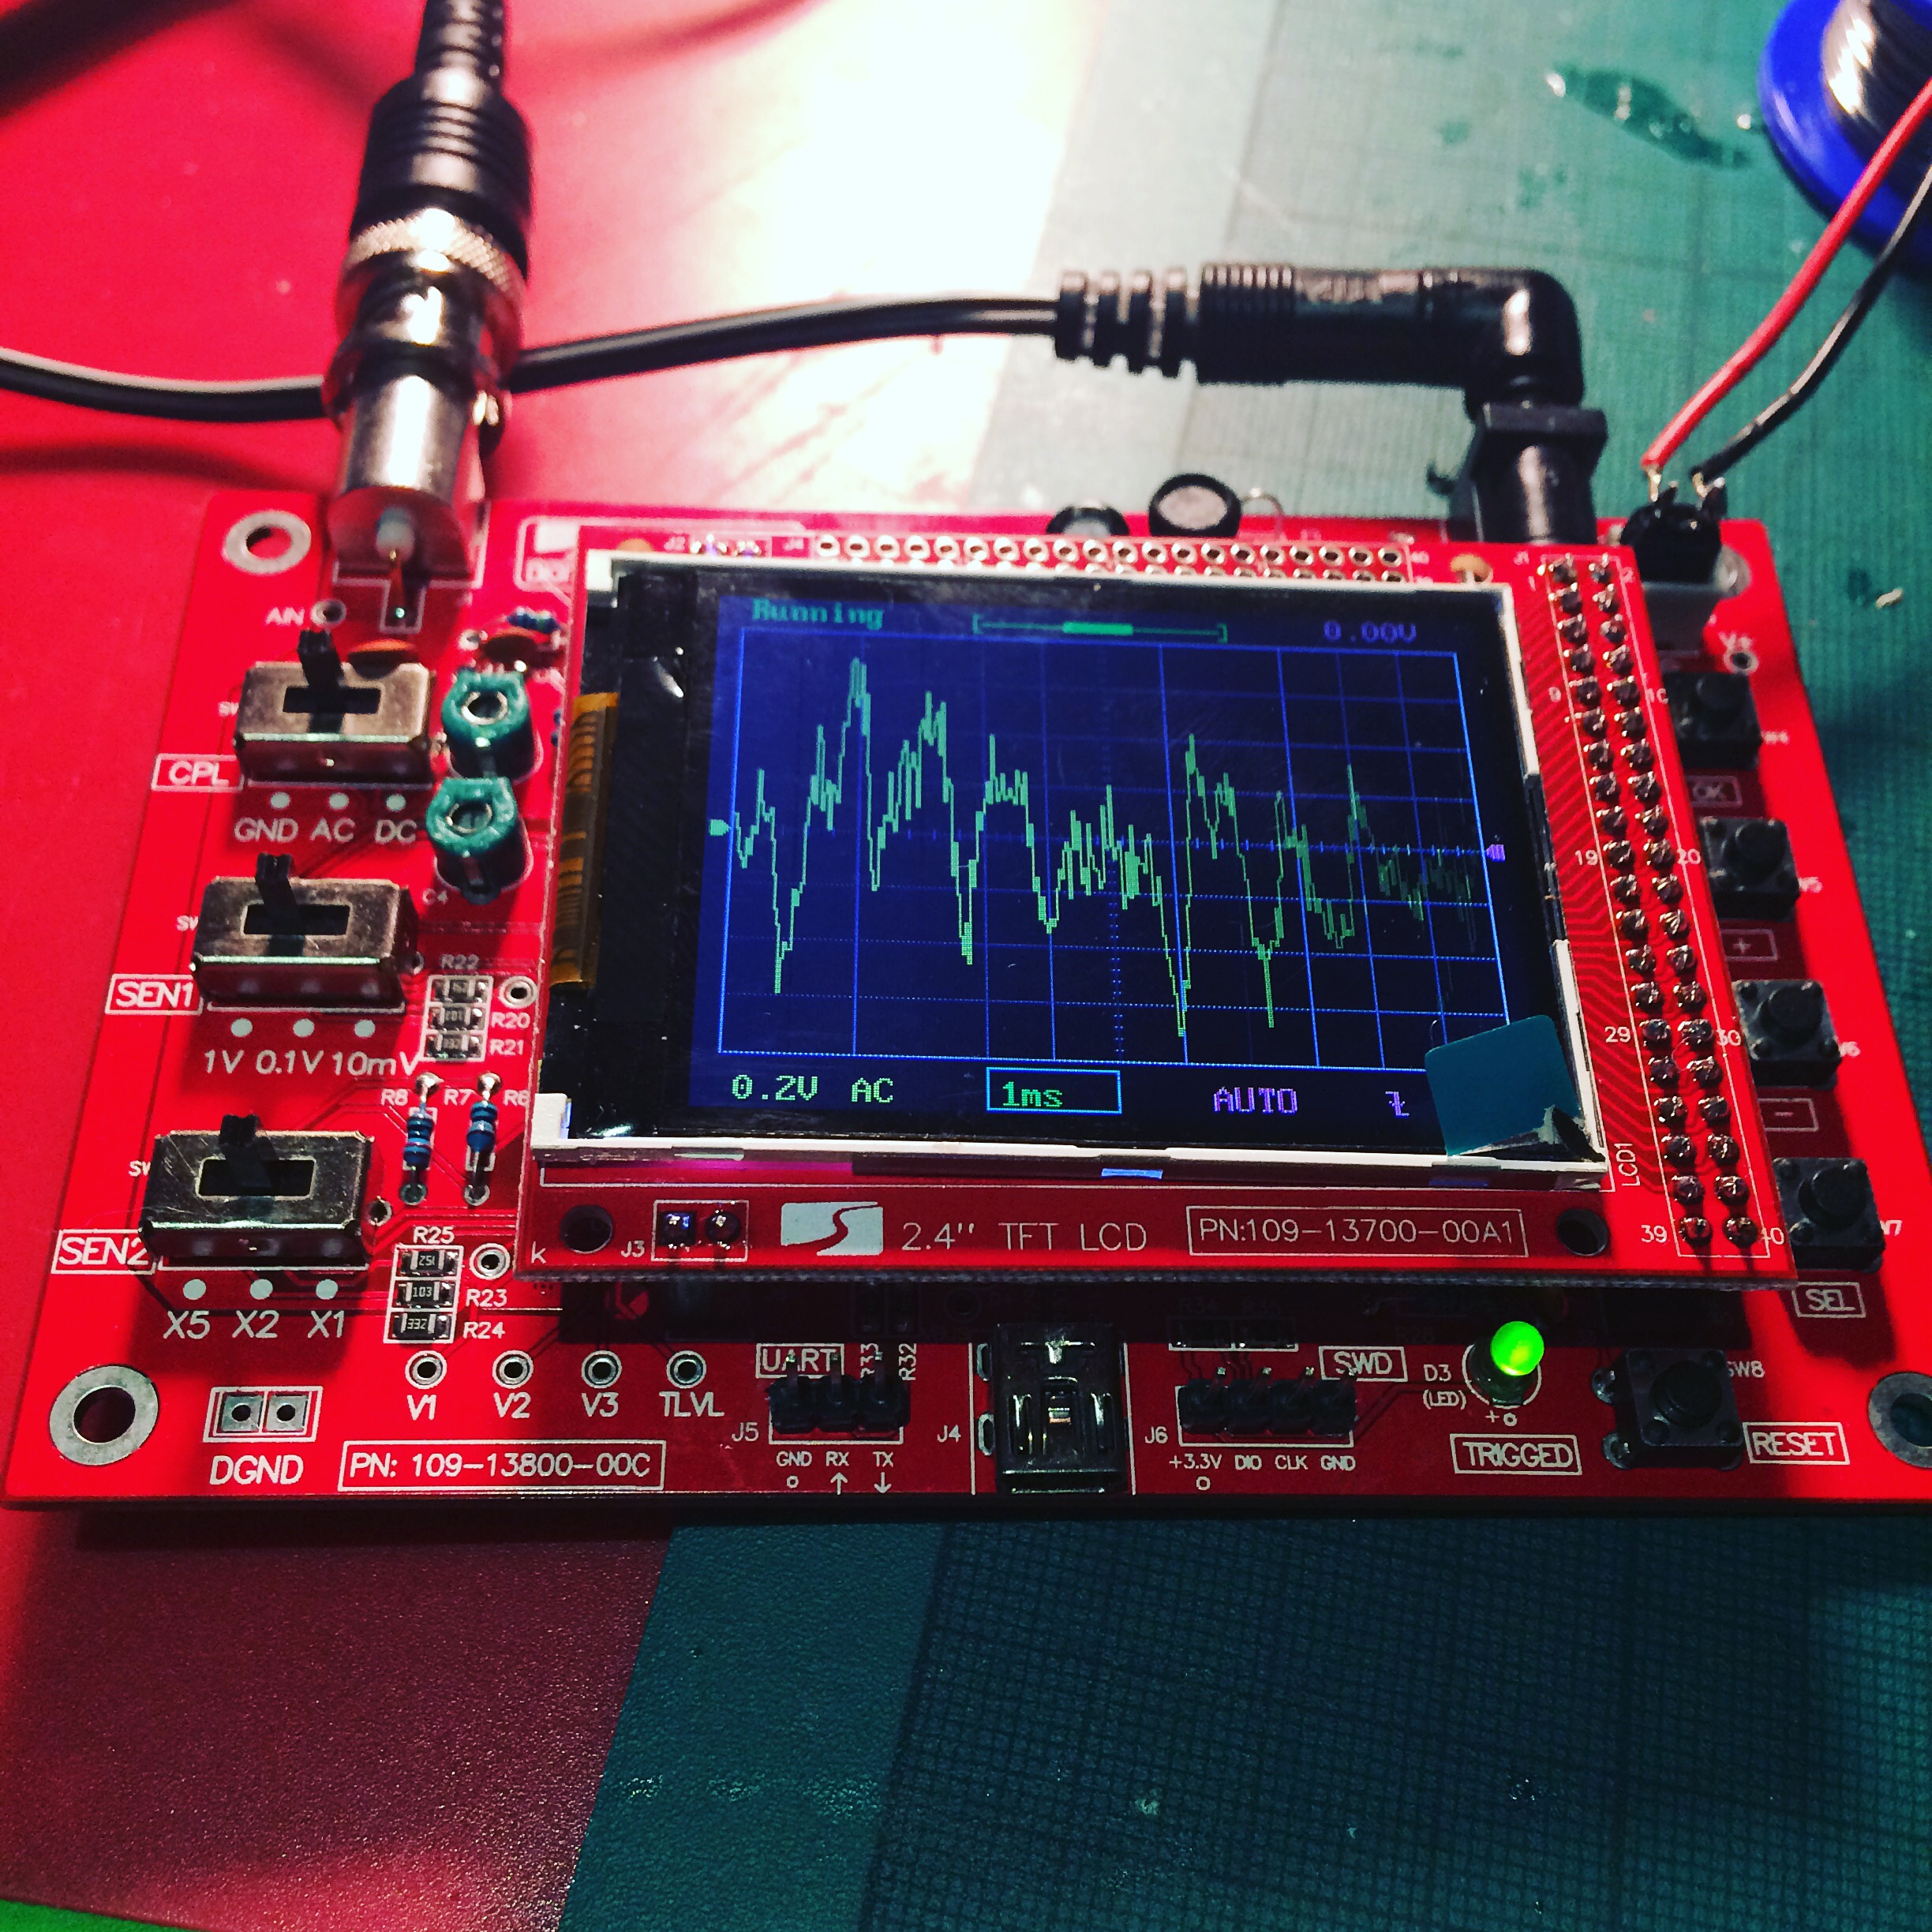
The oscilloscope is a DSO138. For less than £20 I got a fully working oscilloscope. The build was fairly straightforward. None of the components are labelled so you do need to sort through all the resistors and capacitors and either read their values (very hard on the tiny resistors) or measure them with a multimeter. It took about 5 hours to build, but the instructions were very clear and it worked first time. Well, I had a few issues powering it, but that was because I was using a supply with the wrong polarity. It uses a centre POSITIVE 9v power supply, not centre negative, like most guitar pedals. Luckily there’s a protection diode, so that didn’t do any damage.
I have a laser cut case for it (cost an extra £1!). Had a few problems assembling it, but I should be able to resolve them with a bit of filing. Will post images when that’s finished. One of my favourite things about the build was that it coincided with my lovely wife doing some dress making, so we got to spend the day hobbying together!
Glitch Delay – more progress
I’ve been working pretty hard on my glitch delay module the last few months. As you may remember it’s sort of a cross between my previous AudioFreeze project and a digital delay. It consists of a delay line with a write head and a read head. The difference being the read head is basically looping a tiny buffer behind the write head. This is implemented using 2 read heads which crossfade between each other to avoid popping. It has 2 modes now. The loop window either moves through the buffer, or statically jitters, at a rate controlled by a pot.
My original experiments were with a Teensy 3.2, but its rather limiting 64k of memory meant I only had about half a second of audio buffer. I’ve now moved to using the Teensy 3.6, which has a whopping 256k of ram! I’ve also implemented 12-bit audio (2 samples stored in 3 bytes), which gives me an audio buffer of around 3 seconds, which is enough to get nice repeating loop effects. I’m using the PCB board I designed for my AudioFreeze project which was designed for Teensy 3.2. The 3.6 is twice the length, but by crafting a tower block of female header I was able to raise the Teensy over the height of the ribbon power connector.
Initially I had a very peculiar issue where the module would only work when powered by USB, not when in the modular case. Weirdly, when I was putting the multimeter on it, to test power was getting to the board (which it was), it would sometimes startup, and then work fine. It turned out the case wasn’t supplying enough current. The Doepfer power board only supplys 50mA on the 5V rail, and 100mA on the 12V rail. I tried making a small add-on board with a voltage regulator on, so I could you the 12V power, but it still wasn’t enough. I ended up adding a separate power board, and powering it with a 5V wall adapter directly.
With all the extra processing power the 3.6 provides I was able to create 3 separate play heads, all looping audio at different pitches which is mixed together. One plays at 1/2 speed (1 octave down), one at normal speed, and one at double speed (1 octave up). Currently the mix ratios of these are fixed as I’ve run out of knobs on my board!
Here’s a very simple demo, you can hear the acoustic sound of the guitar in this video, normally I’d want the effect to be totally wet, but it does serve to show you what the original audio is doing..
This diagram shows how the processing blocks are organised. It’s the glitch delay block that’s really doing all the work.
I actually played with this live at my last gig at Spirit of Gravity. I hope to incorporate it into my material more when I’ve properly learnt to play it! Next up, I may try to add CV control to all the parameters. I’d also like to move away from using the audio shield, as I’m not really taking advantage of the 16-bit DACs/ADCs. I’m really only using it so I can use the Teensy ADC to read the pots. I’m planning on designing a new PCB and using a PIC chip to handle all of the pots and CV interface stuff and then connect that to the Teensy via I2C, but I’ve no experience of that, so that’s a whole new adventure!
As always, code is here

