I’m really pleased to say that my AudioFreeze module has won the Music Hackspace DIY instrument competition. I didn’t build it to enter the competition, it just so happened to be running at a similar time, but I’m super pleased to have won, especially as the other entrants were pretty cool.
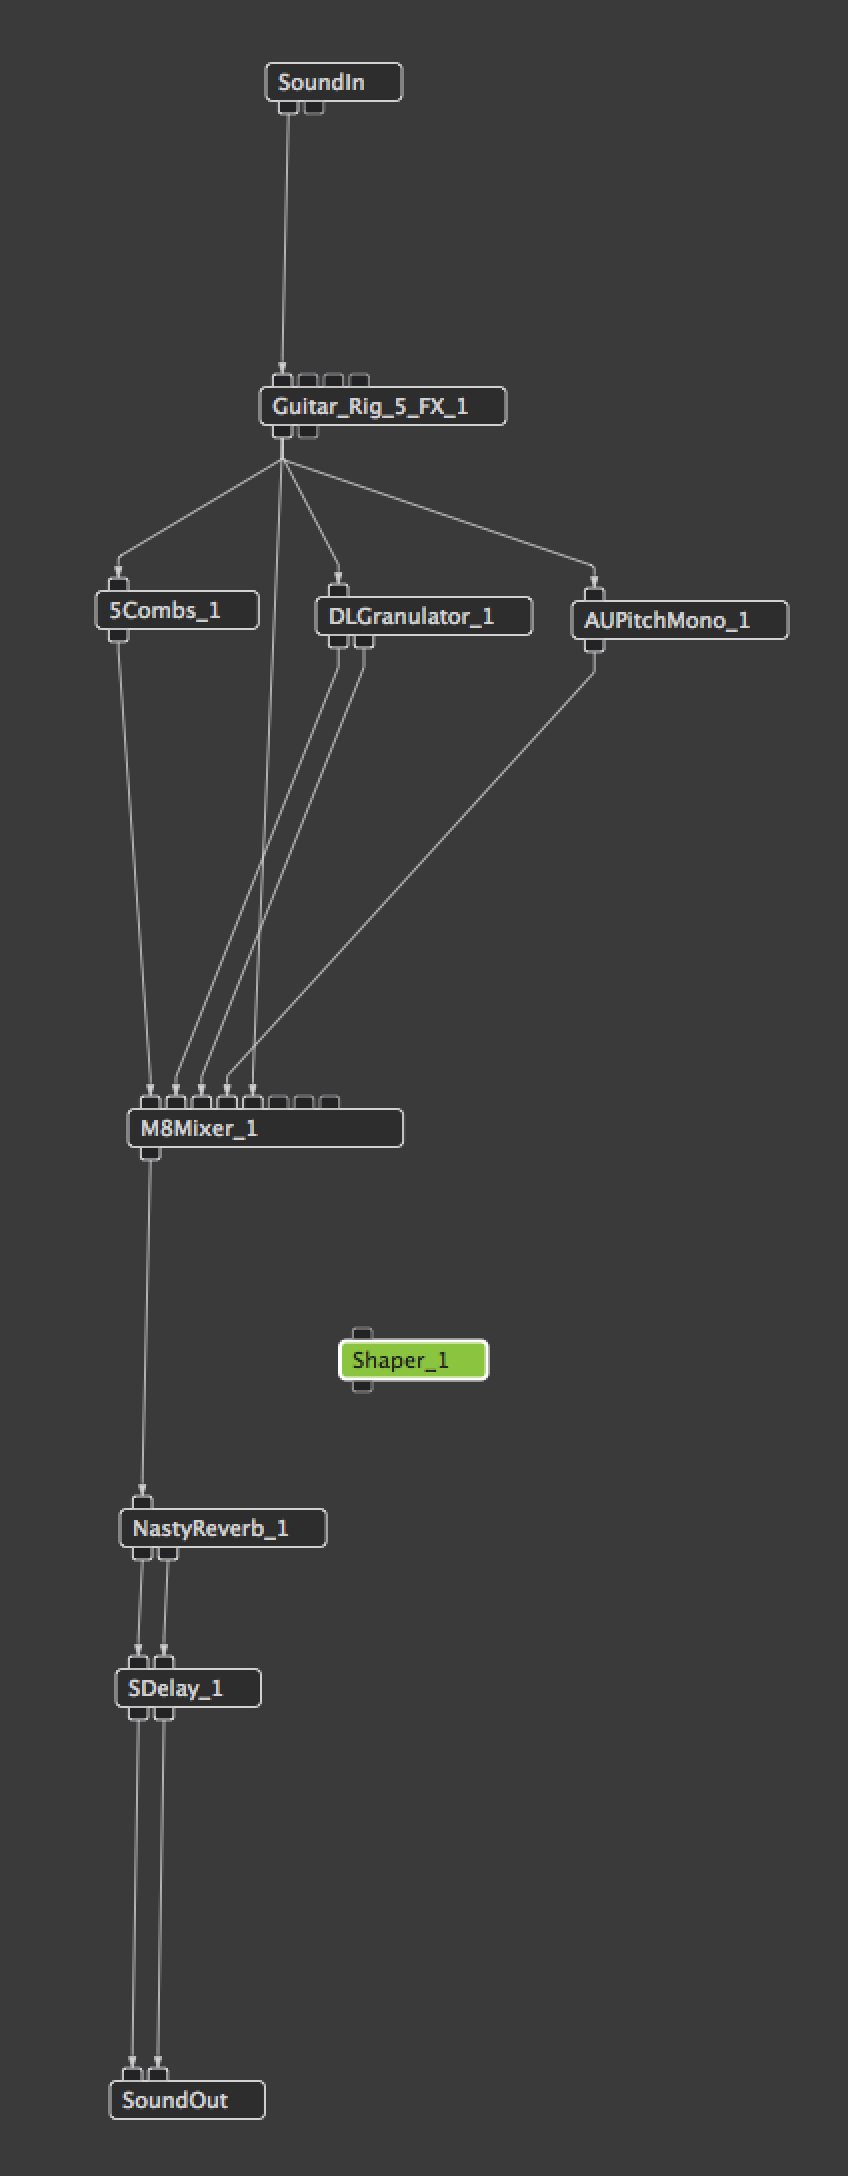
Got to start thinking of what to work on next. I’ve got a few of the boards left, so it will probably be based around Teensy and Audio Shield again. I’ve start using Audio Mulch to experiment with some ideas for a signal chain. Will update when things start to come together.
I’ve added the Gerber files to GitHub so anyone can build the module if they like. As a disclaimer this module should be seen as a prototype. IT HAS NO POWER FILTERING OR SHORT CIRCUIT PREVENTION, if you plug the ribbon cable in the wrong way you may damage the board and potentially your other modules. Also your case must supply 5V power (some don’t). As this was my first PCB I wanted to make it as simple as possible. I’m merely making it available as a resource for people who want to make their own boards. If you do build your own I’d love to see it. Please tweet me @scolar any pictures or videos!
Finally got around to putting together a little video of the AudioFreeze in action, now with 8-bit option for longer loops. Updated source code is available here
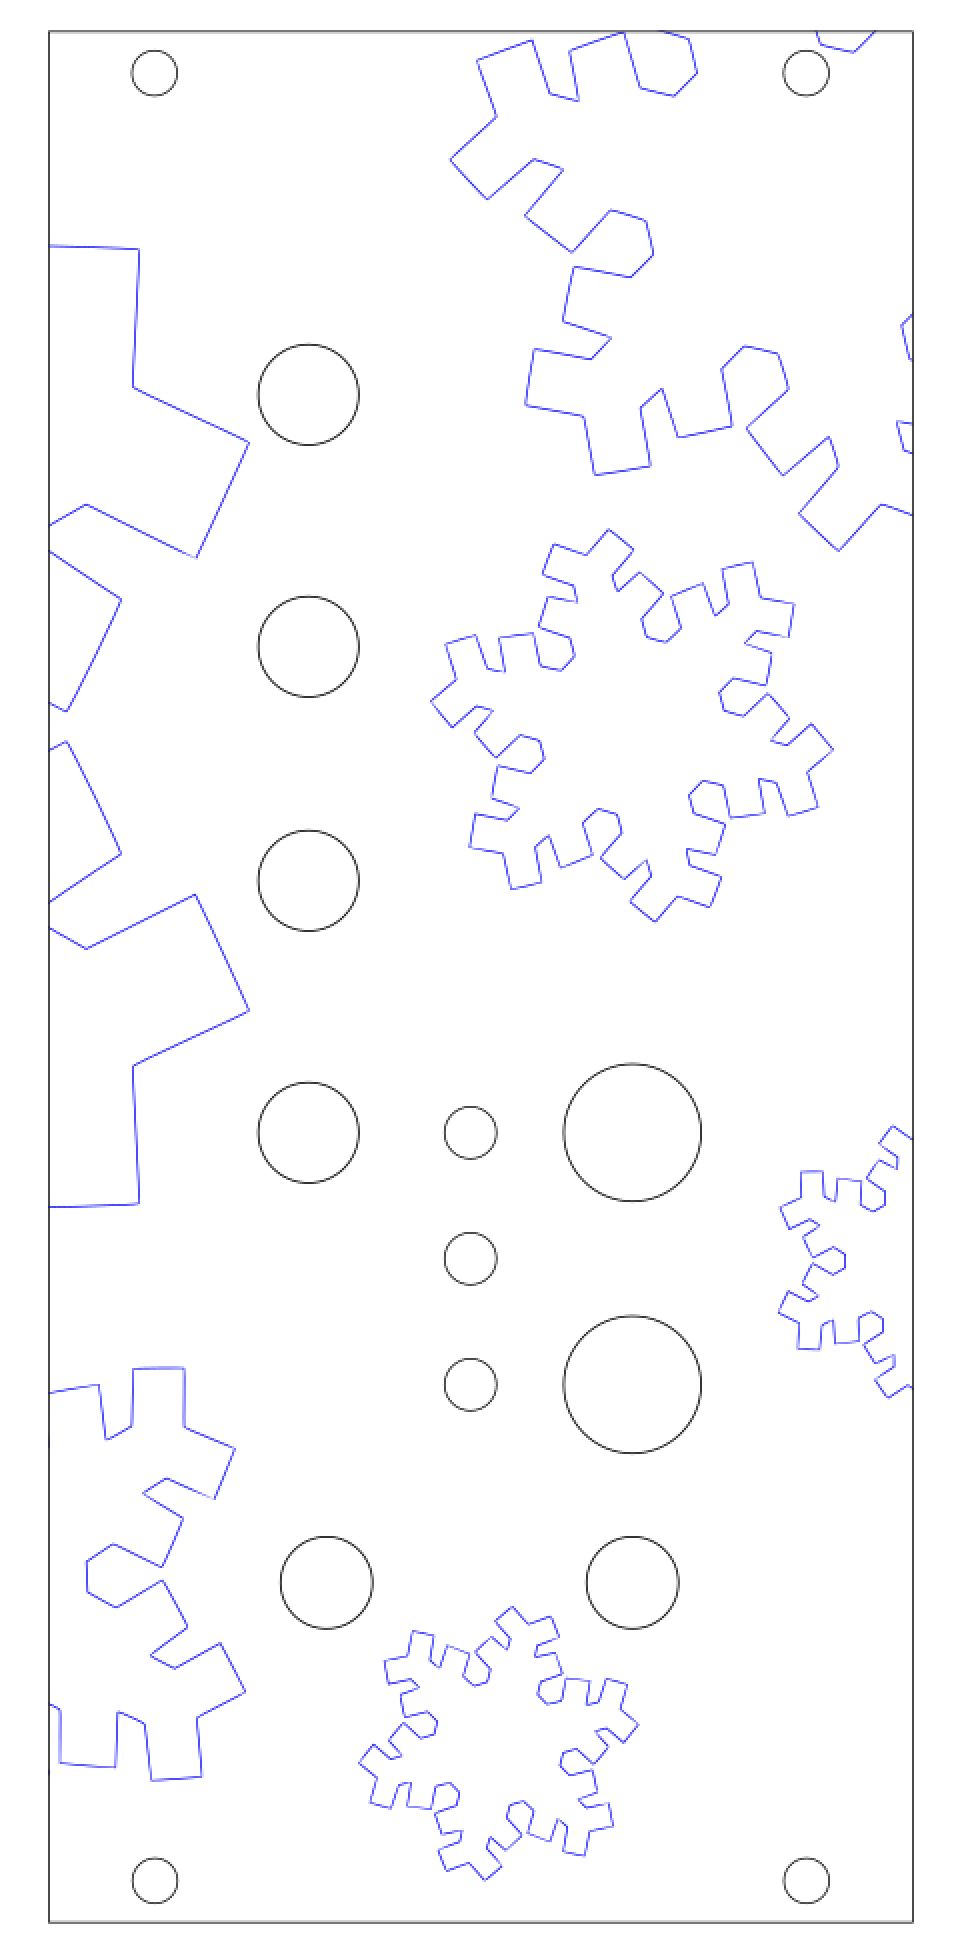
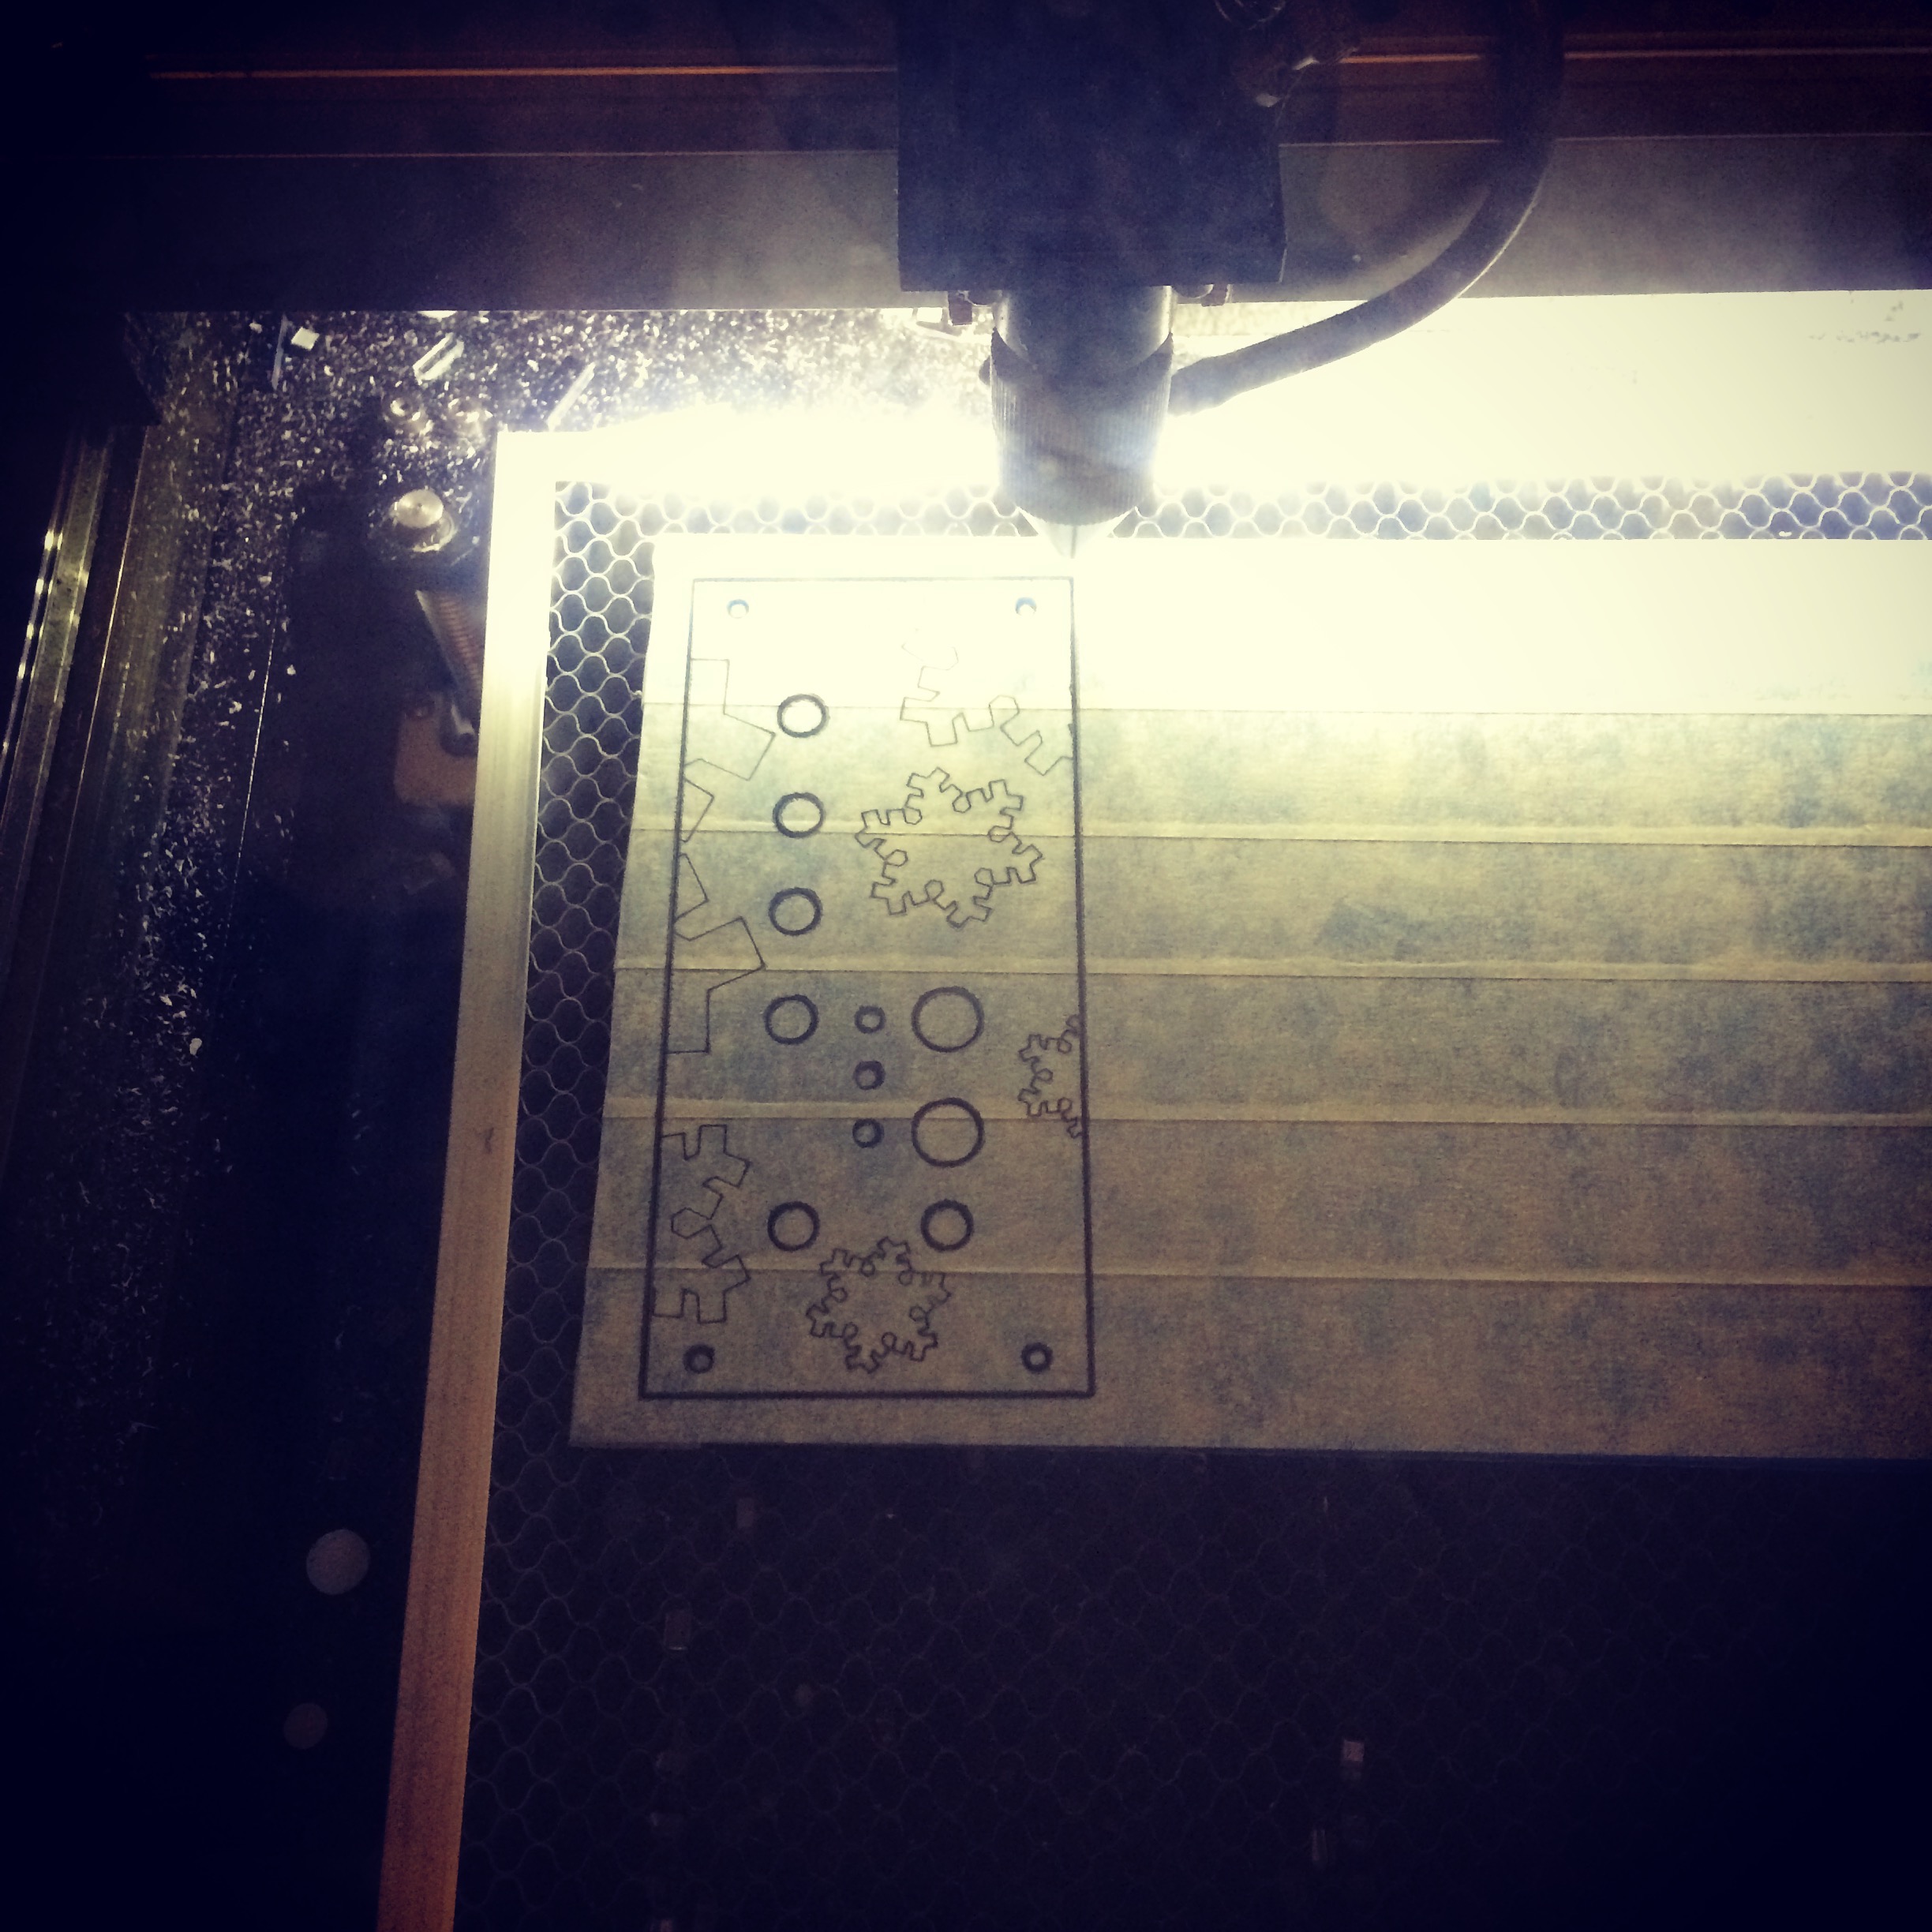
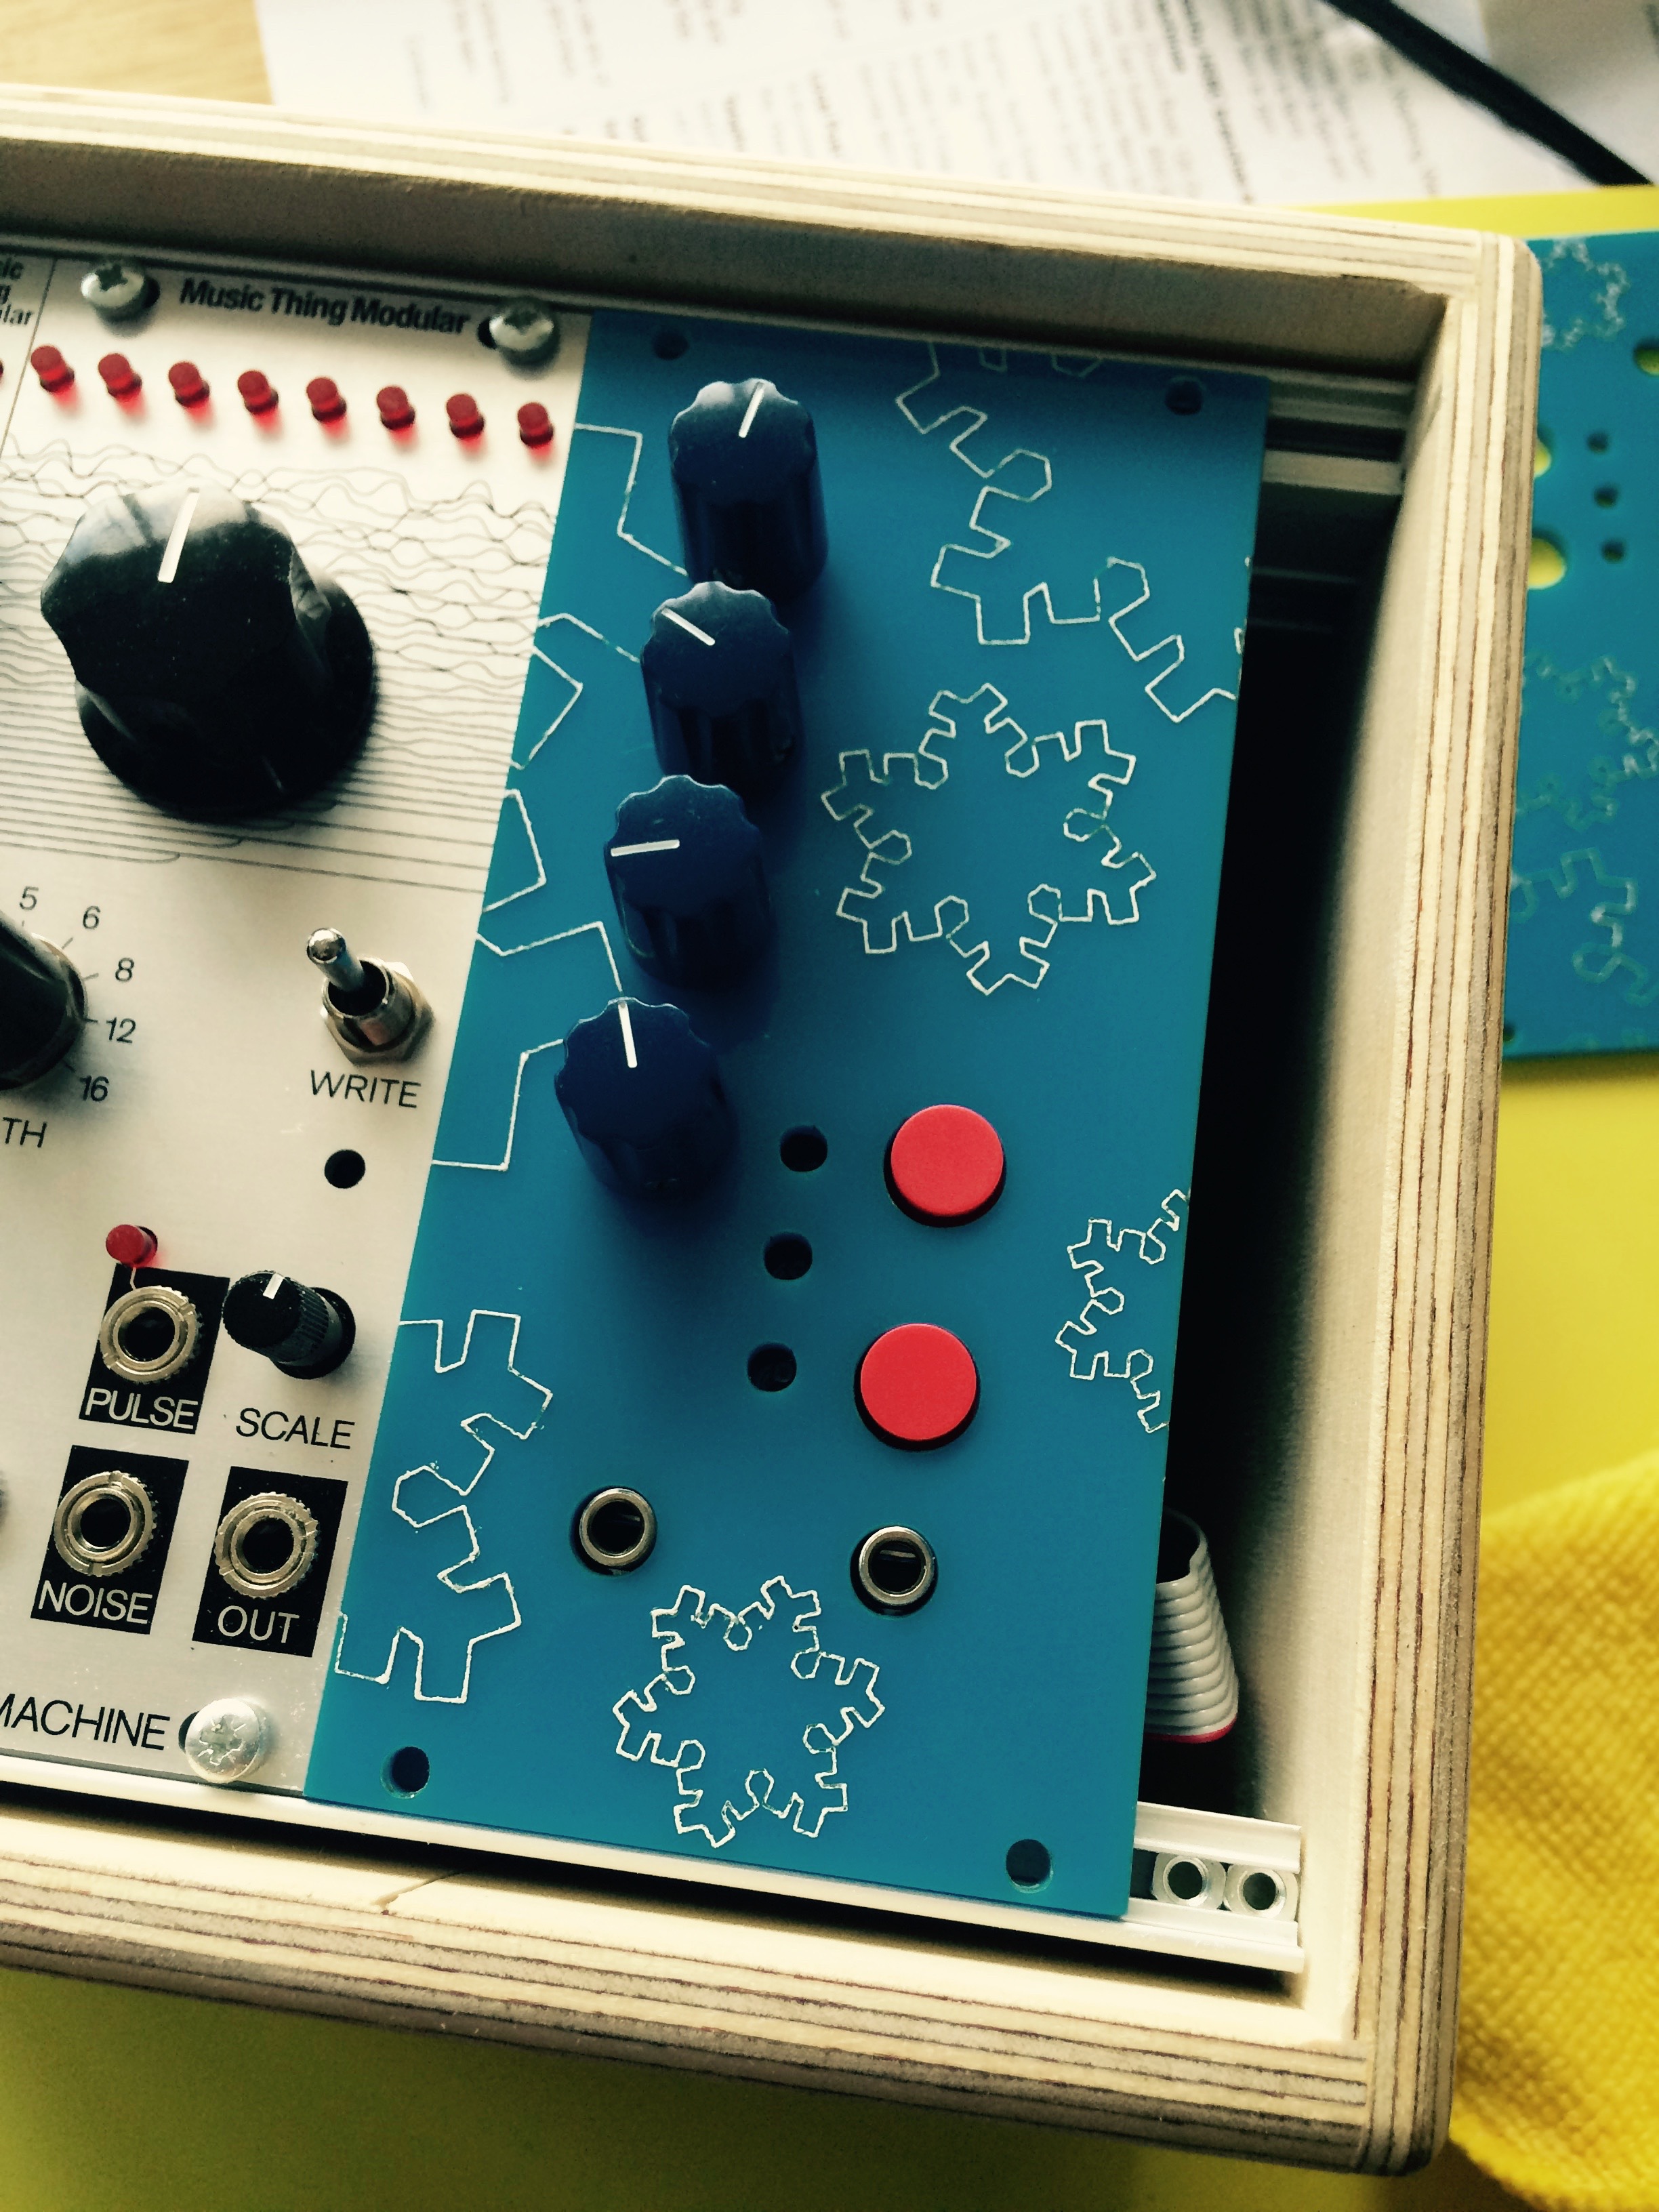
To be able to mount my AudioFreeze PCB in a modular case I needed to craft a fascia. I decided to use laser-cut acrylic. I haven’t found anywhere in the UK that does bespoke Aluminium cutting, and, due to a kind friend, I had access to a laser cutter! I created a vector image in InkScape, a free, well-featured vector art package. It does have its drawbacks though, it’s not particular user friendly. I haven’t found an easy way to show the centre of objects, so I ended up making guidelines to show me, and hiding them in another layer.
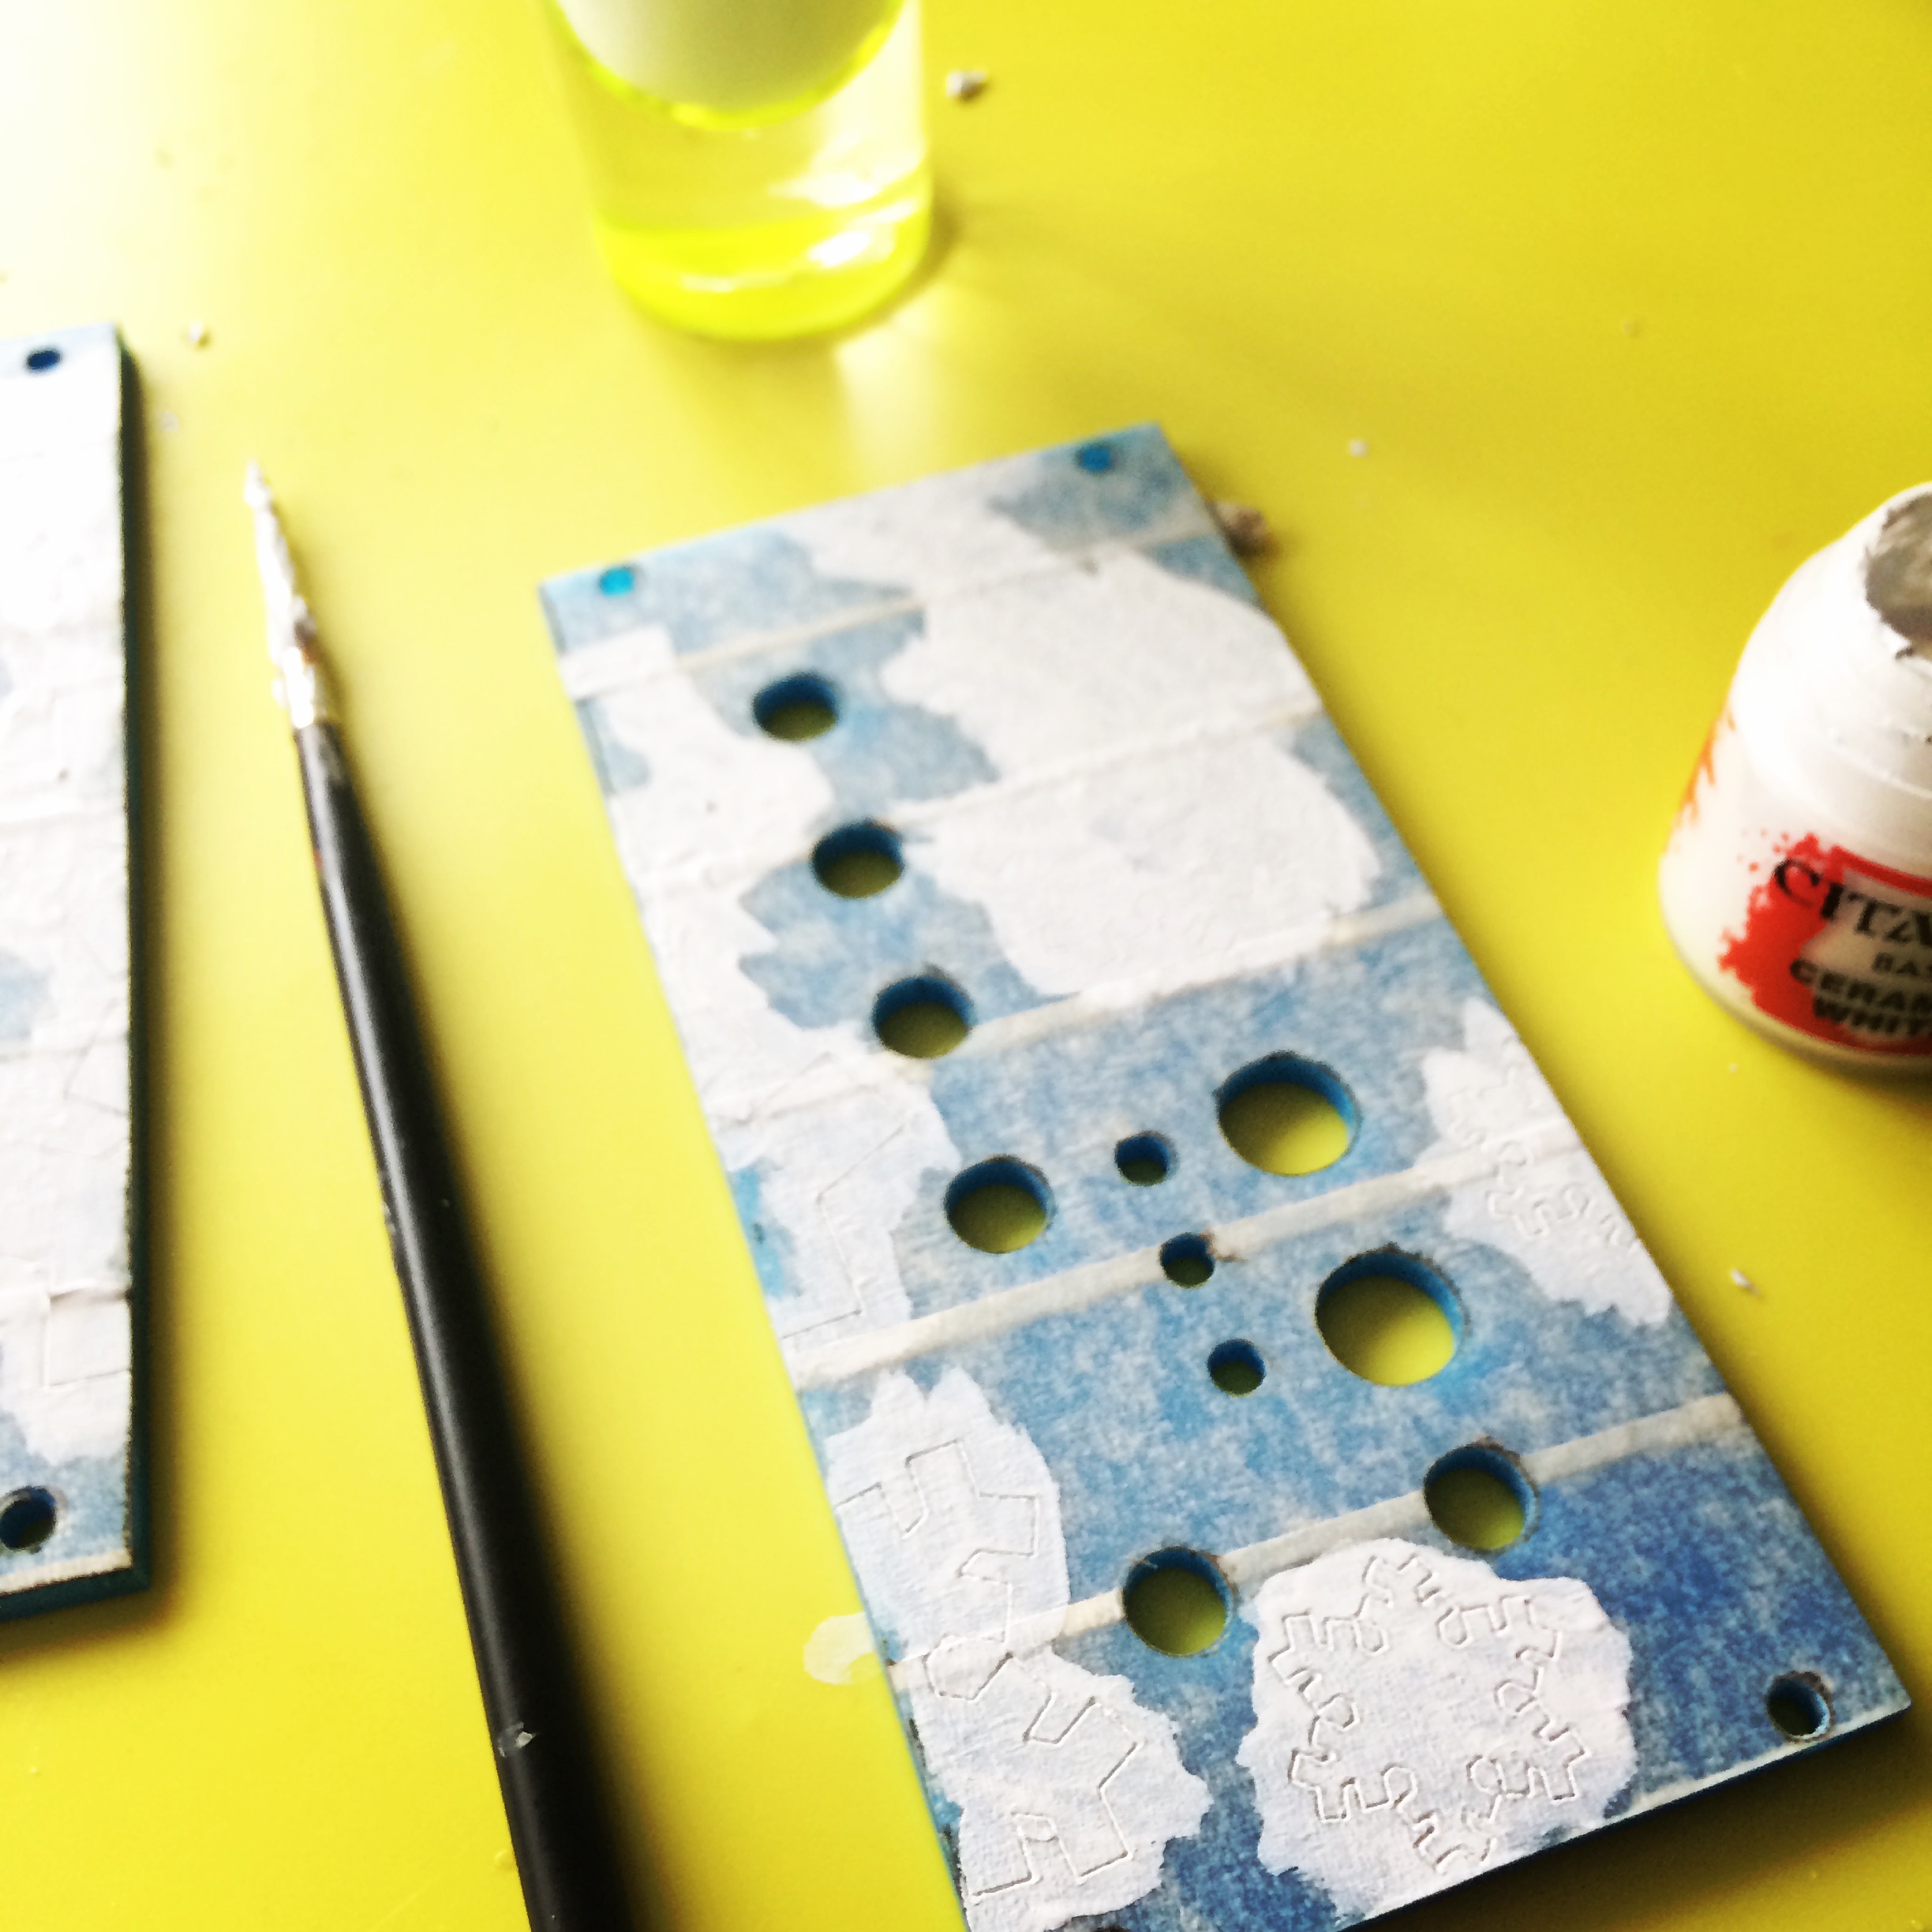
I came up with a design involving snowflakes, and I wanted these to be in a different colour. I covered the acrylic in masking tape, and once it was cut I painted over the top with several layers of thin acrylic paint. It wasn’t entirely successful, the paint didn’t fill the etched areas quite as well as I’d hope, but I’m still very pleased with the final result. One downside of using acrylic is that it’s 3mm thick, which seemed slightly too deep to be able to get a nut on the jack sockets as not enough of the barrel protruded. The Aluminium panels from the Thonk – Music Thing kits I’ve built were thin enough not to have this problem.